Types of Stitches in Machine Embroidery: A Practical Guide
Every embroidery design is built from a small set of stitch types. Knowing what each one does makes it much easier to choose the right approach for a logo, name, badge or decorative design.
The four stitch types used most often
Most machine-embroidery files use a combination of running, satin, fill and manual stitches. The best choice depends on the artwork, the size of the detail and the fabric being embroidered.

1. Running stitch
A running stitch is a simple line of individual stitches. It is useful for fine outlines, small details, light decorative lines and travel between sections. Because it adds very little thread to the fabric, it is often a good choice where softness and flexibility matter.
2. Satin stitch
Satin stitch creates a smooth, solid band of thread. It is ideal for lettering, borders, narrow shapes and clean logo details. For satin to look crisp, the digitising needs the right stitch direction, density and compensation for the fabric.
3. Fill stitch (tatami)
Fill stitch covers larger areas with rows of thread. It is commonly used in badges, mascots and bold logo shapes. A good fill is not just about coverage: stitch angle, density and underlay all affect whether the finished embroidery stays flat and clean.
4. Manual stitch
Manual stitches are placed individually by the digitiser rather than generated automatically. They are especially useful for tricky curves, fine artwork and details where a standard stitch path would not give a neat result.
Why the stitch choice matters
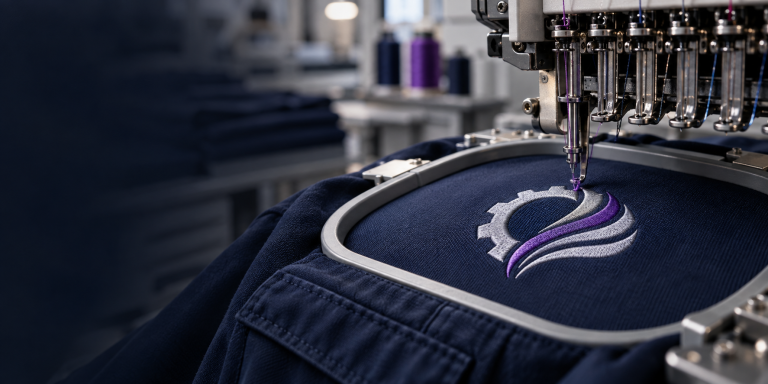
Two files can look similar on screen but stitch very differently on a machine. The fabric, backing, hooping, thread and design size all play a part. A production-ready digitised file balances those factors so that lettering stays readable, edges stay smooth and the design holds its shape.
Getting a better result from your artwork
- Send the cleanest artwork you have, ideally as a vector or high-resolution file.
- Tell your digitiser the garment or fabric type and the finished embroidery size.
- Ask for a sew-out test when the design includes small lettering or fine detail.
- Review the actual stitch-out, not only the artwork on screen.
Need help with a design?
At Pro Digitise, we prepare embroidery files with practical production in mind. If you have artwork ready, send it through for a free trial and we can help you choose the best approach for your next job.
Related Insights
- How to Choose an Embroidery Digitising Service — practical checks for cleaner, production-ready embroidery files.
- Home, Semi-Industrial and Commercial Embroidery Machines — understand how machine type and file setup work together.